


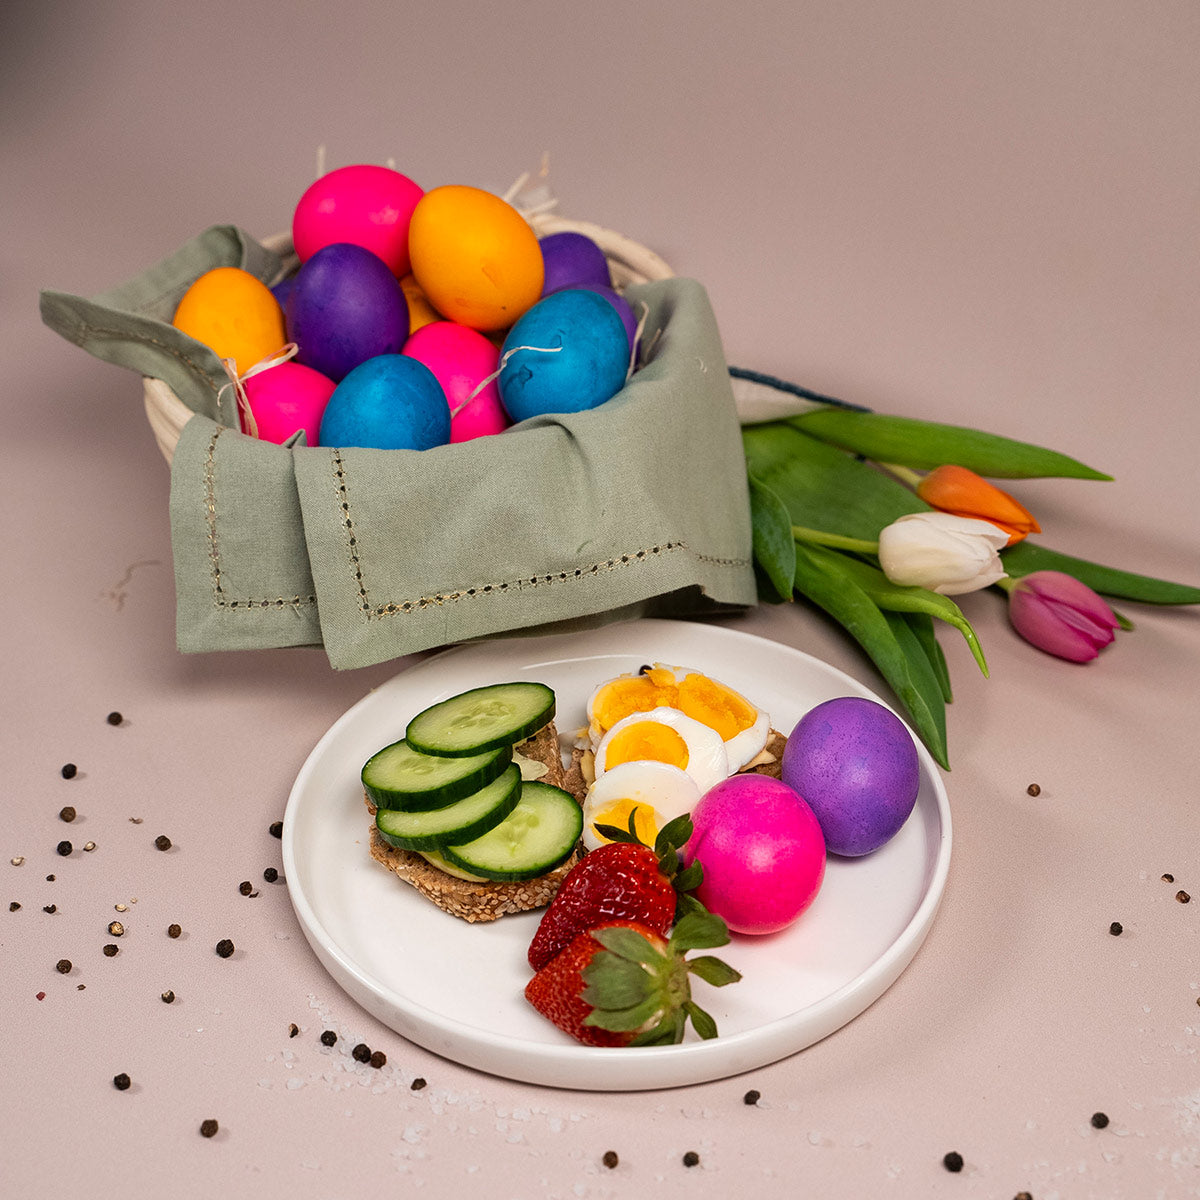
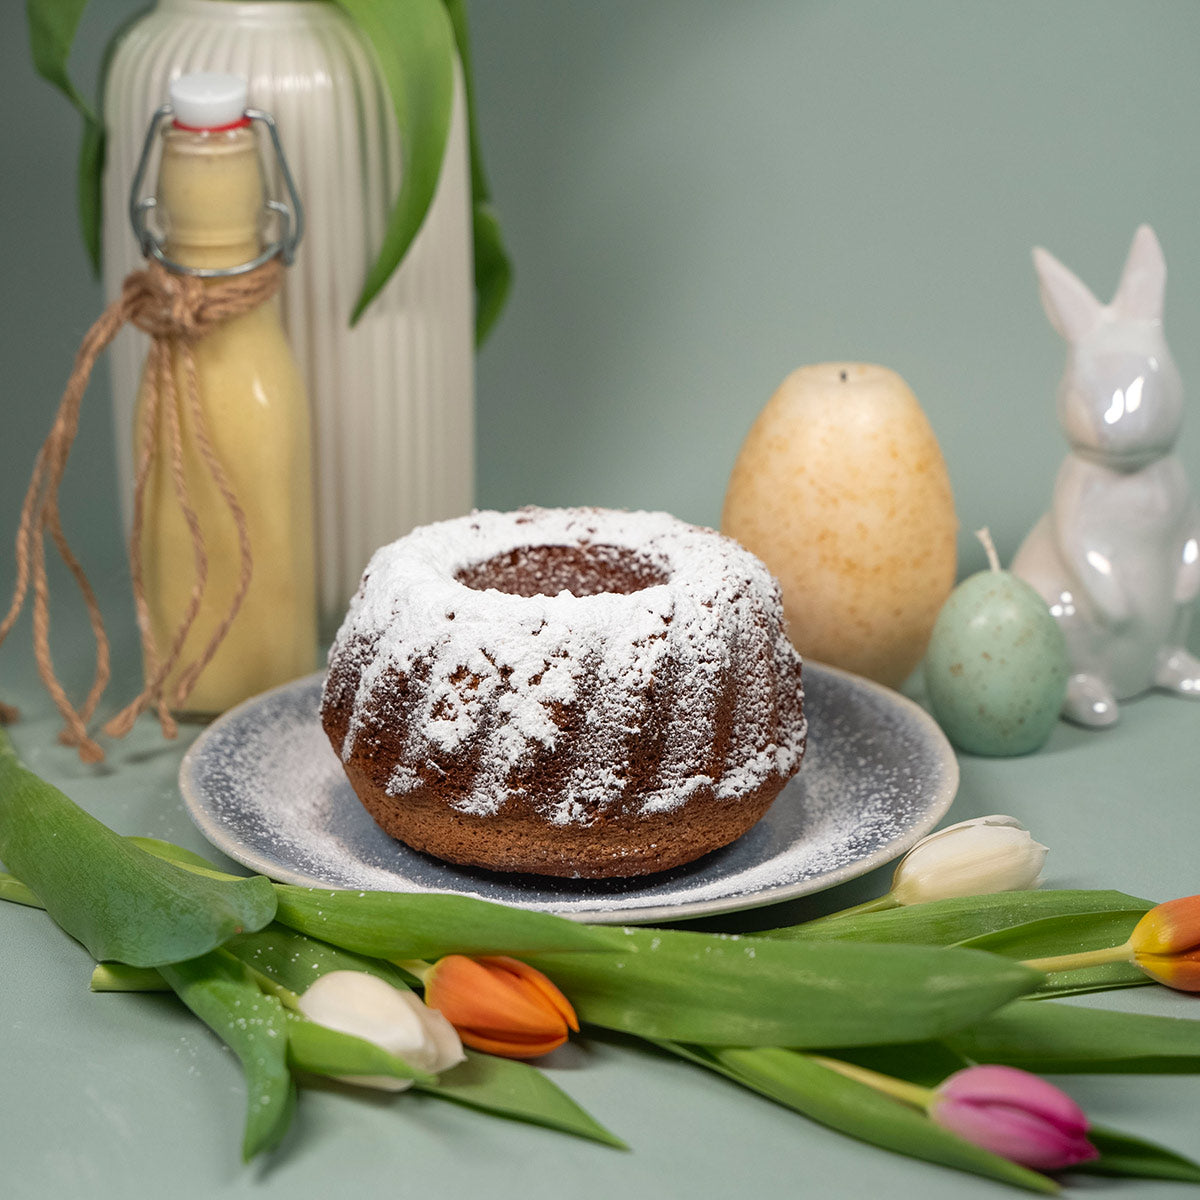
Easter is just around the corner, and what would it be without the traditional art of egg dyeing? With your Thermomix, this tradition is not only preserved, but also revolutionized. Discover how you can easily and efficiently conjure up colorful Easter surprises with your Thermomix.
Tradition meets modernity: dyeing Easter eggs made easy
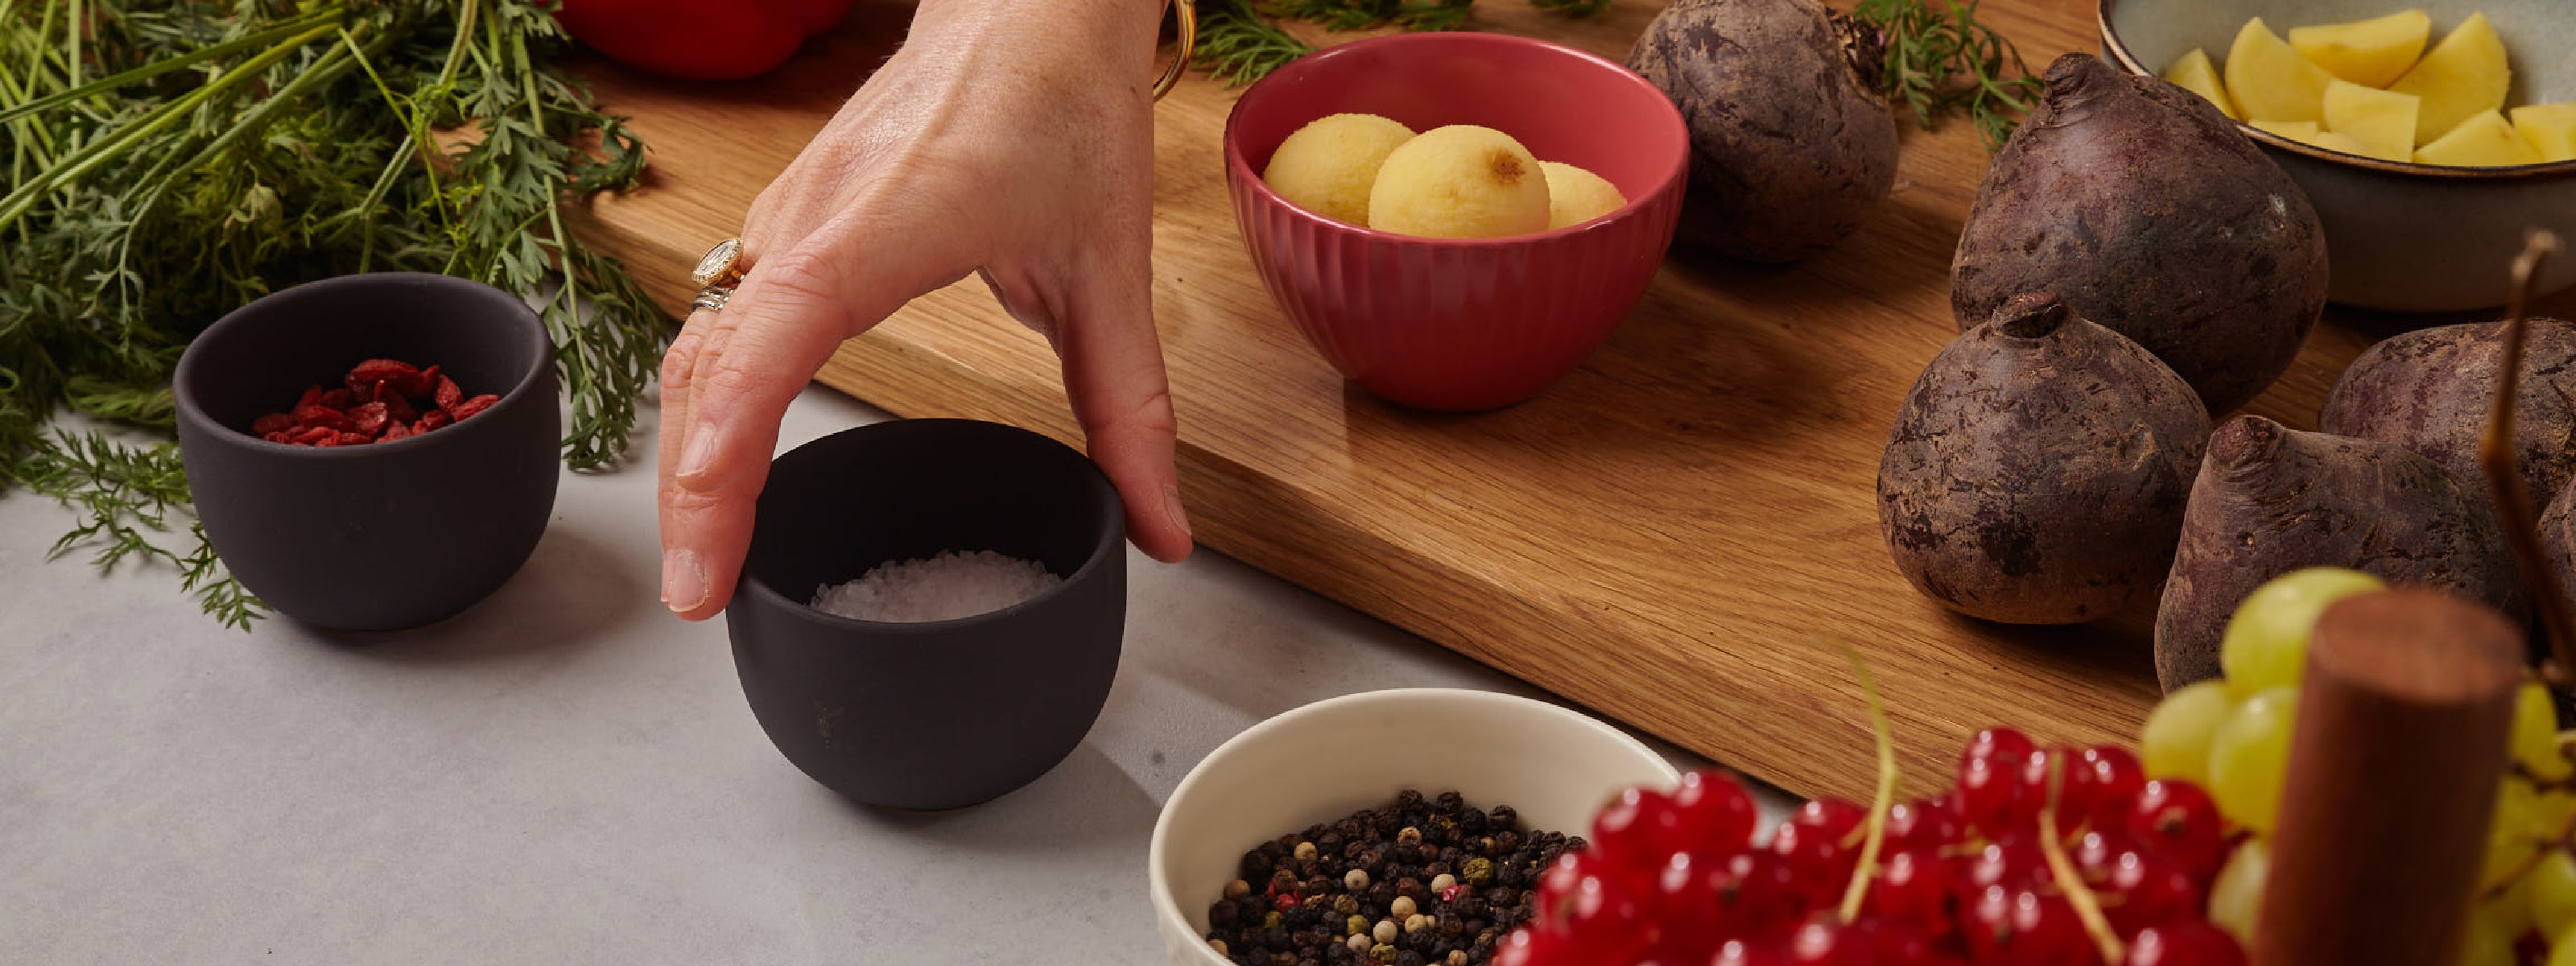
Your Thermomix allows you to simplify and speed up the egg coloring process. Regardless of whether you want to dye the Easter eggs gently in natural colors or bright and intense, your Thermomix ensures even temperatures and perfect results.
What ingredients do you need for dyeing and cooking?
- 3100g water into the mixing bowl
- 21 eggs
- Egg coloring set that is suitable for cooking and coloring at the same time
- 7 plastic bags WITHOUT PRINT (print discolored Varoma)
Step-by-step instructions for coloring and cooking eggs
- Pour 1000 g of water into the mixing bowl, place the Varoma container on top and place the WunderSteam steamer chimney in the middle of the container.
- Put 300 g of water and color enhancer into a bag according to the instructions and dissolve egg color in it. The ratio of paint and water should match the manufacturer's instructions.
- Place 3 eggs in a bag with a tablespoon and close with a clip. Repeat the process with the remaining eggs.
- Enlarge the Varoma shelf with the Varoma MaxiSteam extension and place the second WunderSteam steamer chimney in the middle of the shelf.
- Distribute the bag of eggs into the Varoma container and enlarged Varoma shelf and place the Varoma lid.
- Then steam for 35 minutes/Varoma/level 1.
- Carefully remove the bag from Varoma, place it in the sink and cut open so that liquid can flow out. Allow eggs to dry on kitchen paper.
Tips and tricks for particularly beautiful results
Do you want your dyed Easter eggs to not only be colorful, but actually shine? A few little secrets can make all the difference. Start by wiping the eggs with vinegar water before dyeing. This removes grease residue and ensures that the paint adheres better. For a shiny finish, you can polish the dried eggs with a cloth dipped in cooking oil. It makes the colors shine and gives the eggs a nice shine. Also experiment with techniques like taping with rubber or household tape before dyeing to create unique patterns and effects. The combination of creativity and these tips will make your Easter decorations a real eye-catcher.
How to best store and present the colored eggs
After you have artfully colored and cooked your eggs, it is important to store them properly and present them attractively. To store, you should keep the colored Easter eggs in the refrigerator, preferably in an egg carton to protect them from being knocked. There are many creative ways to present them: arrange them in a beautiful Easter basket, place them on a decorative plate or hang them from an Easter bouquet if you have blown out the Easter eggs beforehand. You can also use natural materials like moss or straw to create a rustic look. Displaying your dyed Easter eggs is the final step in truly bringing your Easter decorations to life and bringing the spring spirit into your home.
ACCESSORIES USED:
MaxiSteam – Varoma enlargement

