


After first using the first generation KitchenSlider, I was now able to test the new, improved version of the Thermomix sliding board: the KitchenSlider V2.
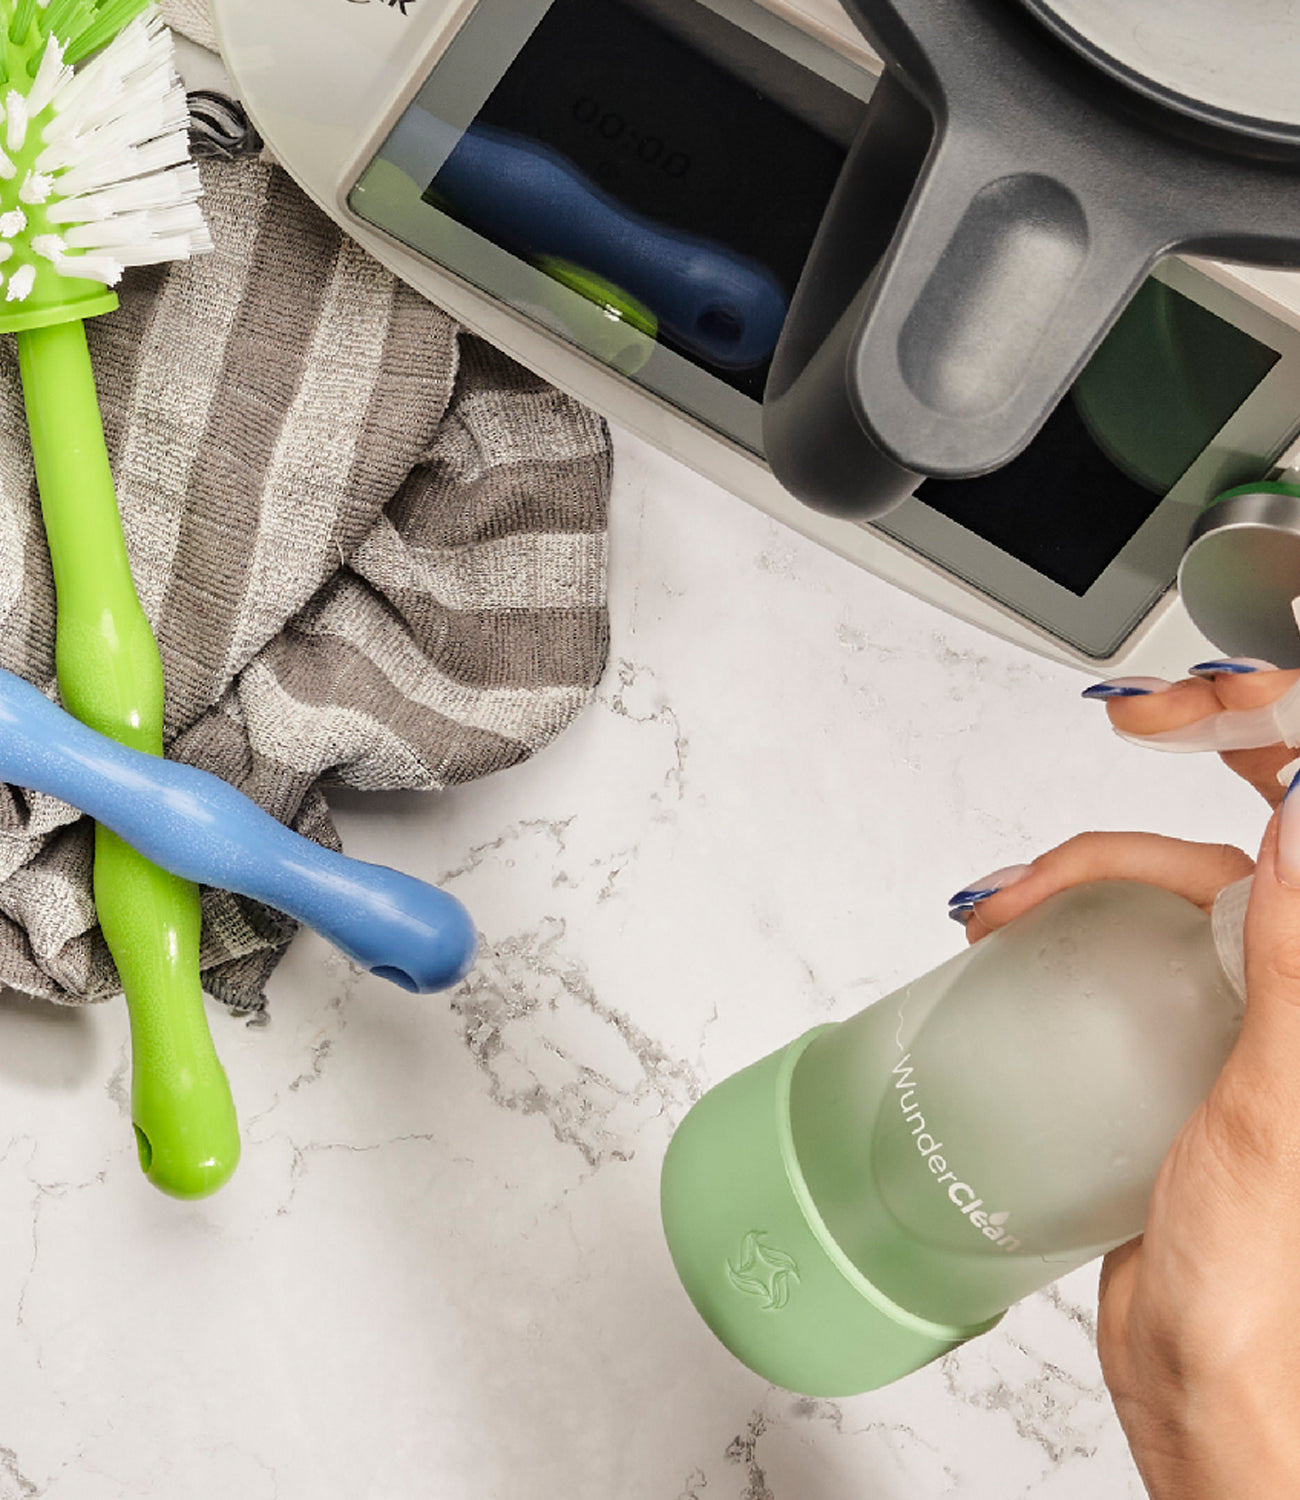
I'll go into the differences and advantages below. But first of all: what is a KitchenSlider good for? Well, I think it's no secret that the Thermomix is pretty heavy and if you're not lucky enough to have a cooking island or a lot of work space in your kitchen, you often have to move it from A to B.
In order not to damage the scales integrated in the feet, you must not push it on the rubber feet, but rather you have to lift and move the heavy device every time. In the long run it's quite tiring. The KitchenSlider provides a solution because all you have to do is lift the sliding board slightly at the front of the recessed grip, pull it and you're done.

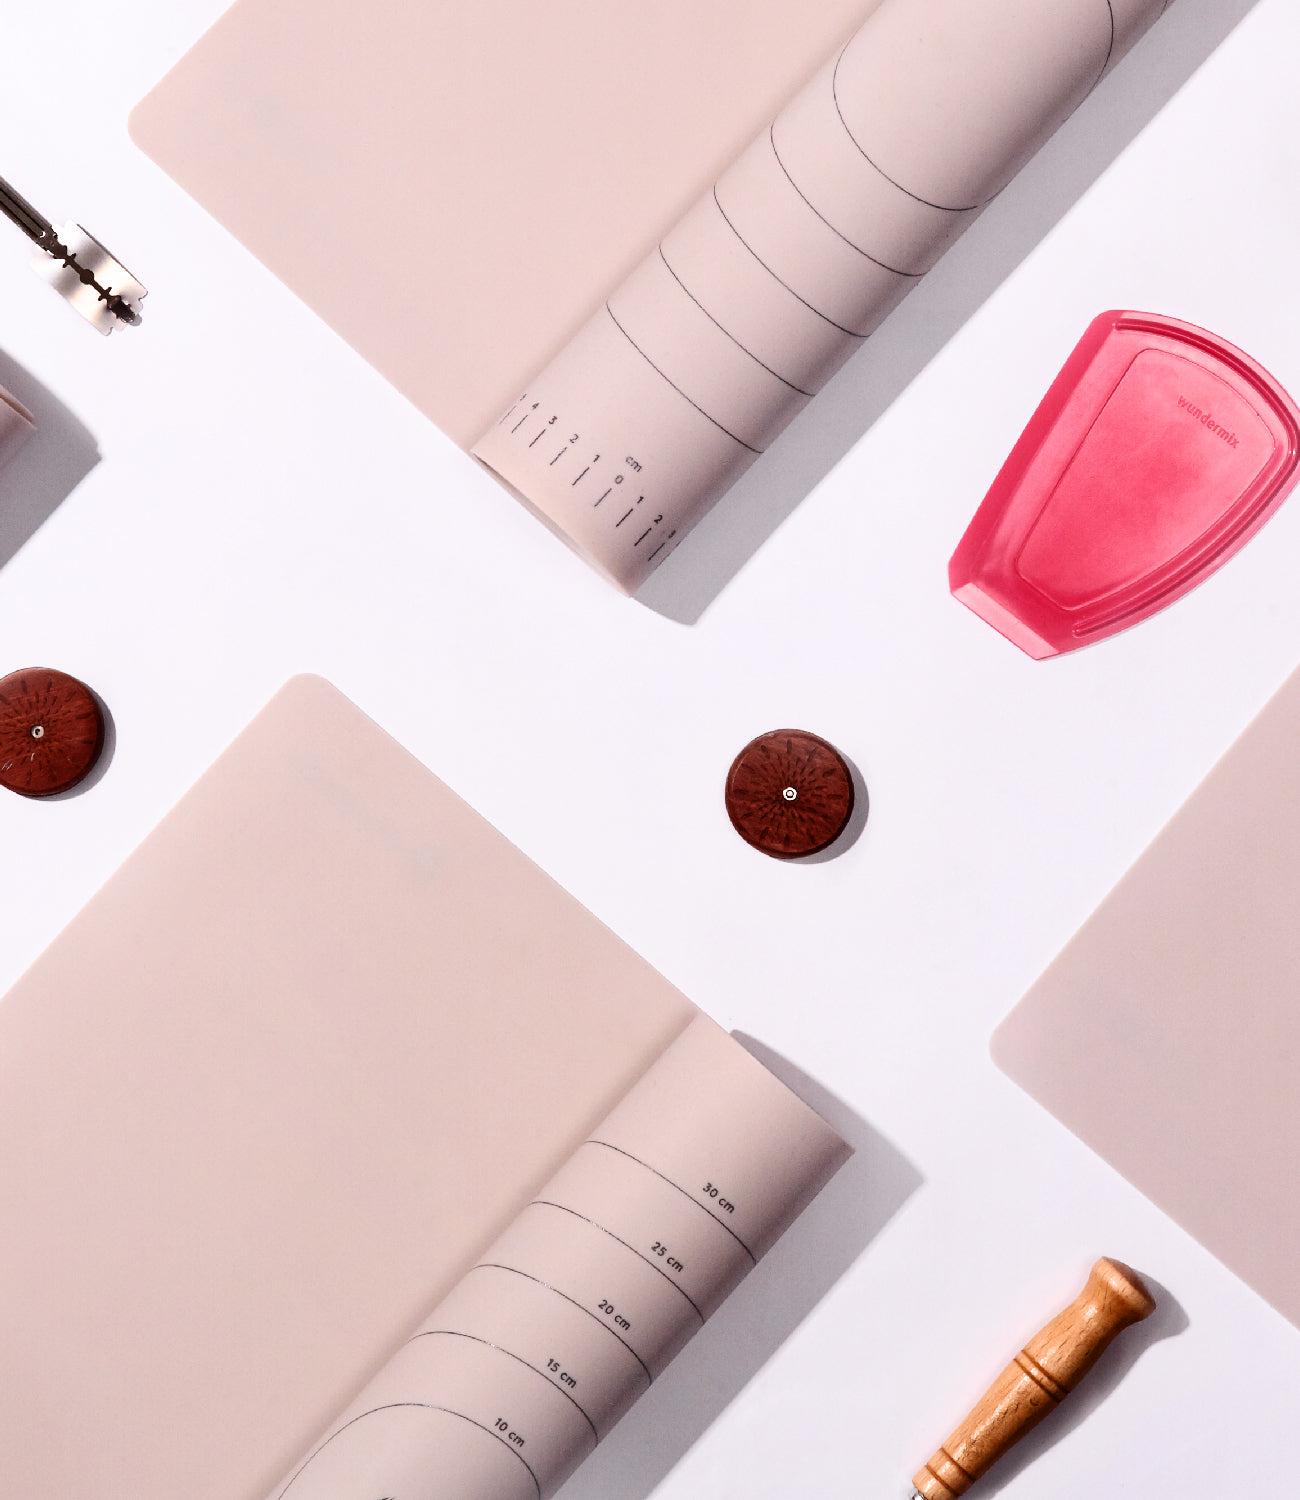
How exactly does this work? The new KitchenSlider has 4 feet. The two rear feet glide smoothly over the work surface thanks to their special Telfon gliders, while the front feet are designed as rubber stoppers and ensure a firm stand when the device is not to be moved.
If you now lift the KitchenSlider slightly at the front of the recessed grip so that the rubber stoppers are no longer in contact with the kitchen worktop and the weight of the device is shifted backwards onto the gliders, all you need to do is pull or push and you can move the sliding board together with the Thermomix effortlessly.
By the way: The old version of the slider only had one foot at the front. With two stoppers, the gliding board is now much safer on the work surface than before, especially when preparing yeast dough.

However, this is not the only sensible improvement to the “old” model. The new KitchenSlider V2 has three recesses on the top side for the feet of the Thermomix TM5. This has several advantages: Firstly, the Thermomix is always ideally positioned on the gliding board. And yes, as a media designer, this is actually important to me. ;-) And secondly, there is a purely practical advantage: the TM definitely doesn't slip in any direction when in use. Otherwise, this can happen, especially with the yeast doughs mentioned above.

How practical is moving back and forth? The KitchenSlider V2 has practical recessed grips on the front and on both sides (the latter only on the new model) that make gripping and pushing easier. I find the front recessed grip practical for pulling back and forth. Reach in, lift and off you go!

To move the Thermomix onto the hob under the extractor hood, for example, the recessed grips on the sides are very practical. This means you can grab the gliding board with both hands, right and left, and move it back and forth very easily. Even over a small obstacle, such as the edge of the stove, for example, the TM5 is really easy to push on the KitchenSlider. The side troughs are also very useful if you need to completely lift the gliding board and Thermomix. Because this is sometimes necessary from one side of the kitchen to the other. There is no such thing as a flying glider (yet?). ;-)

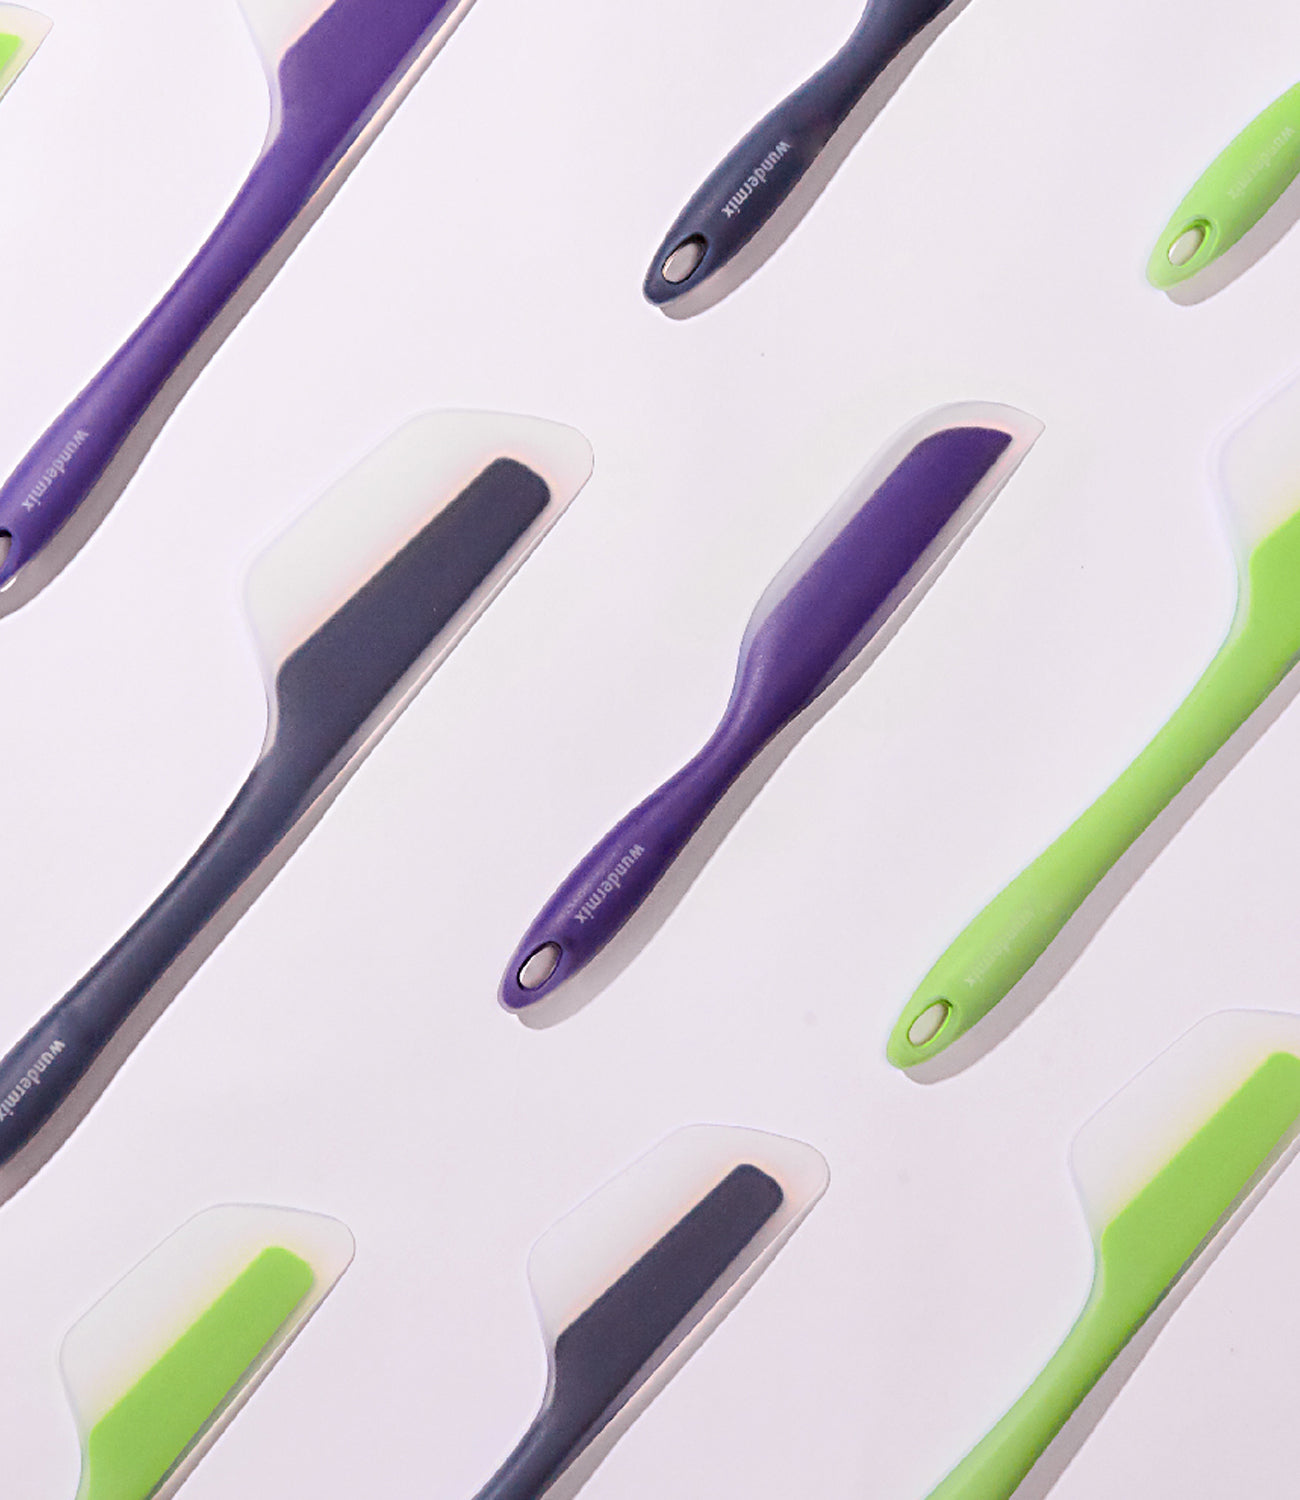
Finally, it should perhaps be mentioned that the sliding board doesn't just have useful sides. Fortunately, he also looks good. Practicality or not: everything that stands on the work surface and is not put away should also be visually appealing. So it's a good thing that the KitchenSlider is available in many different designs (different colors and materials, stone look or solid wood). Everyone can find the model that best suits their own kitchen and worktop.
Best regards,
Your Irina from deliciousmachtlaune.de
![]()

